| This was the first model I ever created so it is not perfect so hold in there but I did learn a LOT about modelling and texturing so I think it was a good start. | ||||
| Please CLICK on a thumbnail to get a bigger version. | ||||
|
|
||||

|
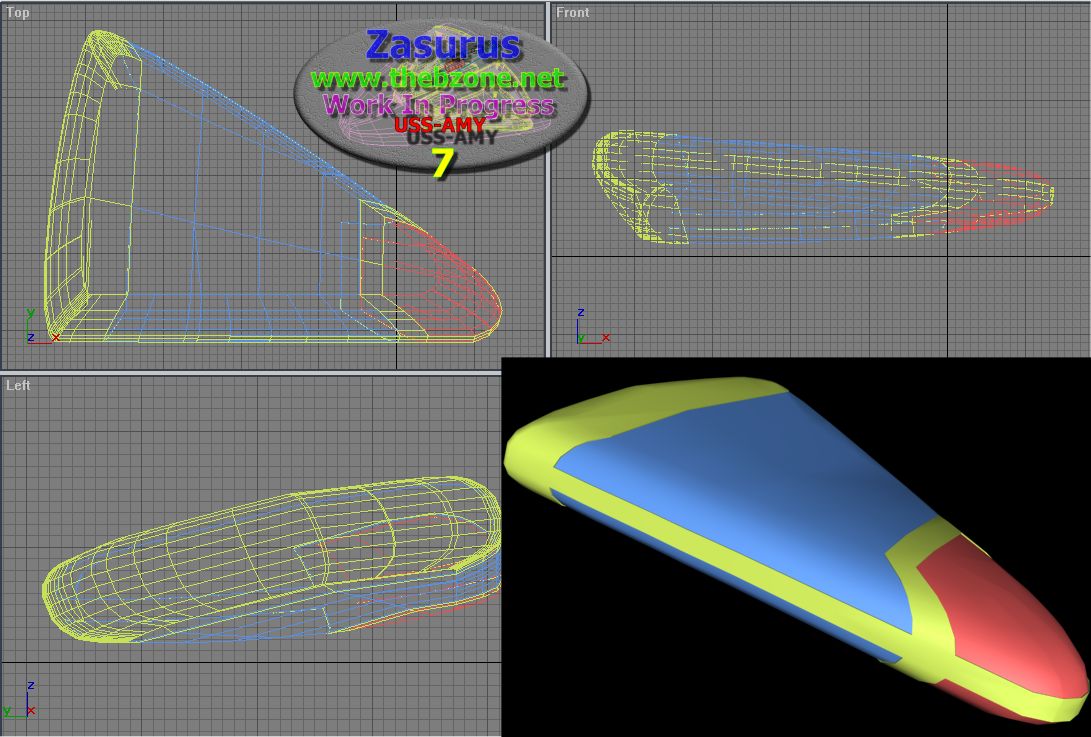
After doing LOTS of drawings on paper I came up with this design. I started by creating the shape of the main hull with Splines. I had done the tutorials that come with 3DS MAX 4 and had picked up it is best to create one side of a complex object and then mirror it to create the other side. It was quite hard to get it just right but after a few hours of trying I got her just right. | |||
| I them proceeded to created the main plasma cannon. I created this out of a box which I hollowed out using Boolean. I also cut slits out of the top at the back (using Boolean again) and made the vents on the top. |
|
|||
|
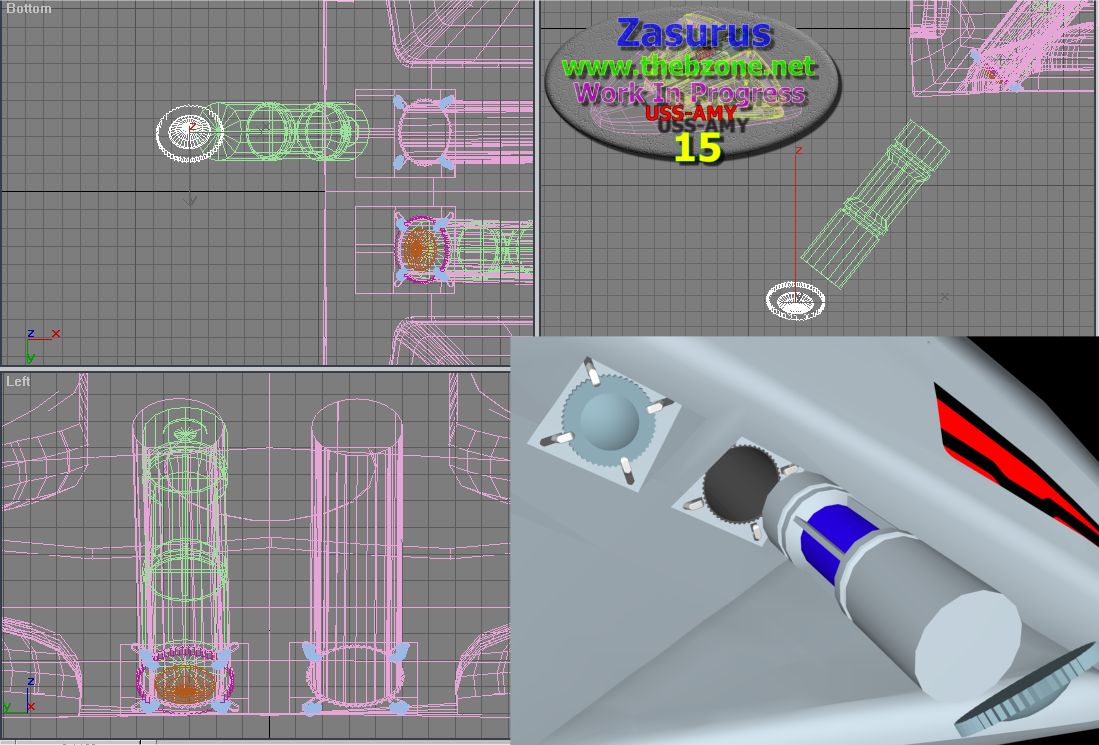
The next step was to create a deflector dish. I again decided it would be easiest to create this by cutting (Boolean) a cylinder out of the hull (first I had to flatten the cylinder slightly as it was to tall for the width I wanted) BUT I then started to find the floors in MAX and Boolean. ERRORS! After about 2 days of reading the Scifi Meshes forum I finally learned how to fix errors in due to Boolean and also learned that Boolean is BAD as it always causes a lot of errors. Finally I had my deflector and no major errors. | |||
| The original designs I had done on paper were for a small shuttle craft but when I had started to create it I started to think it would look better as a defiant sized hit and run destroyer type craft. But now I needed to fill that gap that I was left with where the windscreen (stupid name for it really as there is no wind for the screen to stop!) would have gone. I decided to put a HUGE sensor array like the USS Voyages in the place where the windscreen would go. I did this by extruding all of the faces of the sensor and all of the deflector with a group extrude. If I had used local extrude I don't think it would have worked correctly as the defector hole would have scrued up. |
|
|||

|
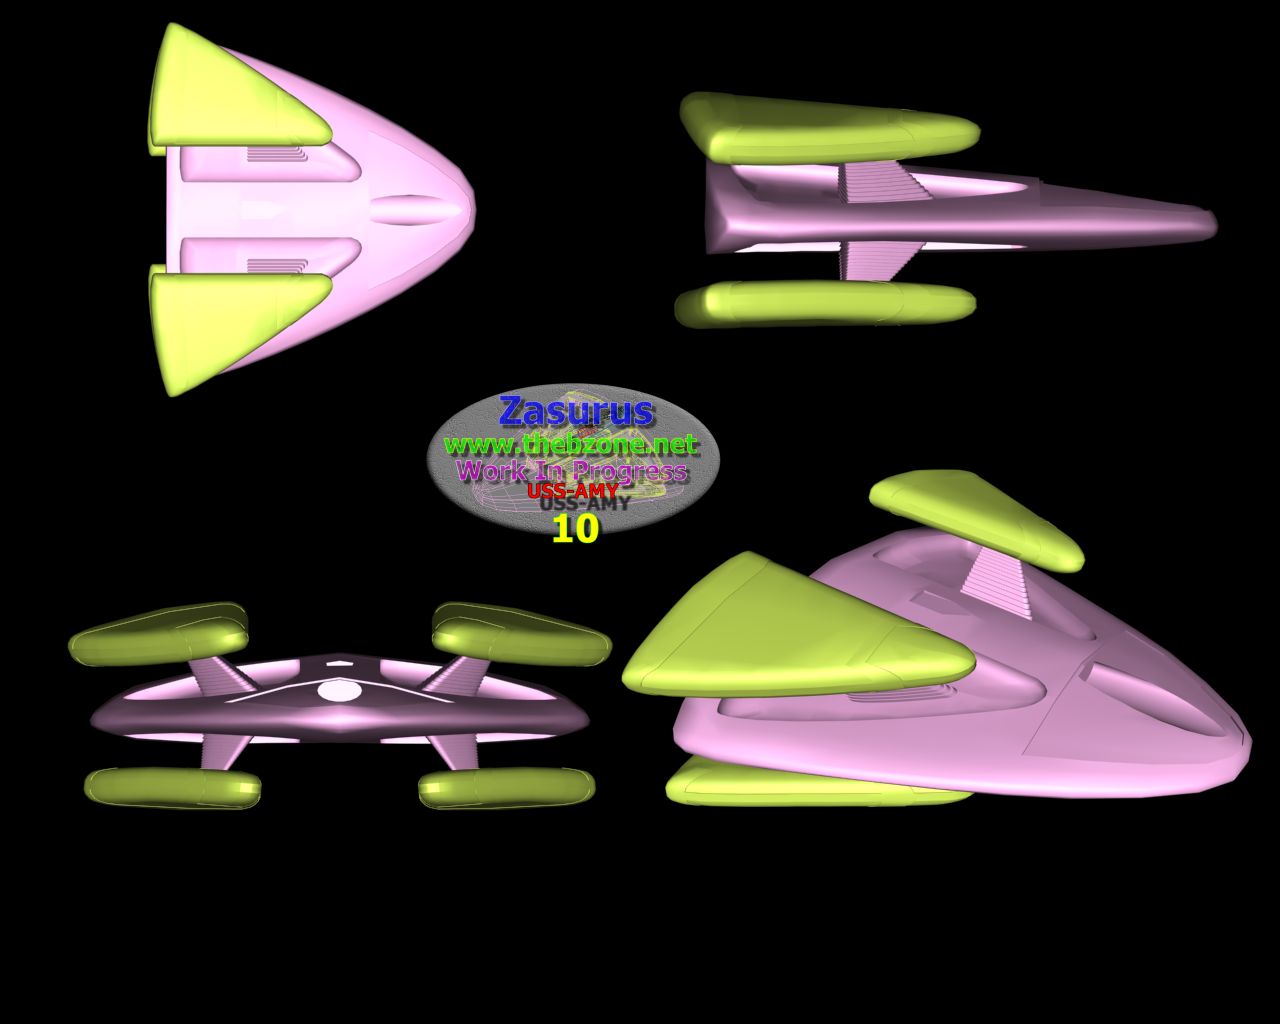
I then needed to create the 4 immense warp nacelles. BUT I was going to have to make sure that when they where 'parked' in the hull they would fit. I did this by creating a spline the shape of the top of the nacelle and then shape-merging it onto the hull. Then selecting all of the faces and extruding and bevelling them until I was left with a nice dip that was less than half the ship deep and I could use as half of the nacelle. I repeated this for the other nacelles. | |||
| To create the nacelles them selves I selected all of the faces from the holes I just created and then copied then to a separate object. I now have the one side of my nacelle. To create the other side I just made a second copy of the new object and mirrored it and moved it until if fitted on top of the original I then attached the two objects together and welded the vertex's so there was no holes in the objects. |
|
|||
|
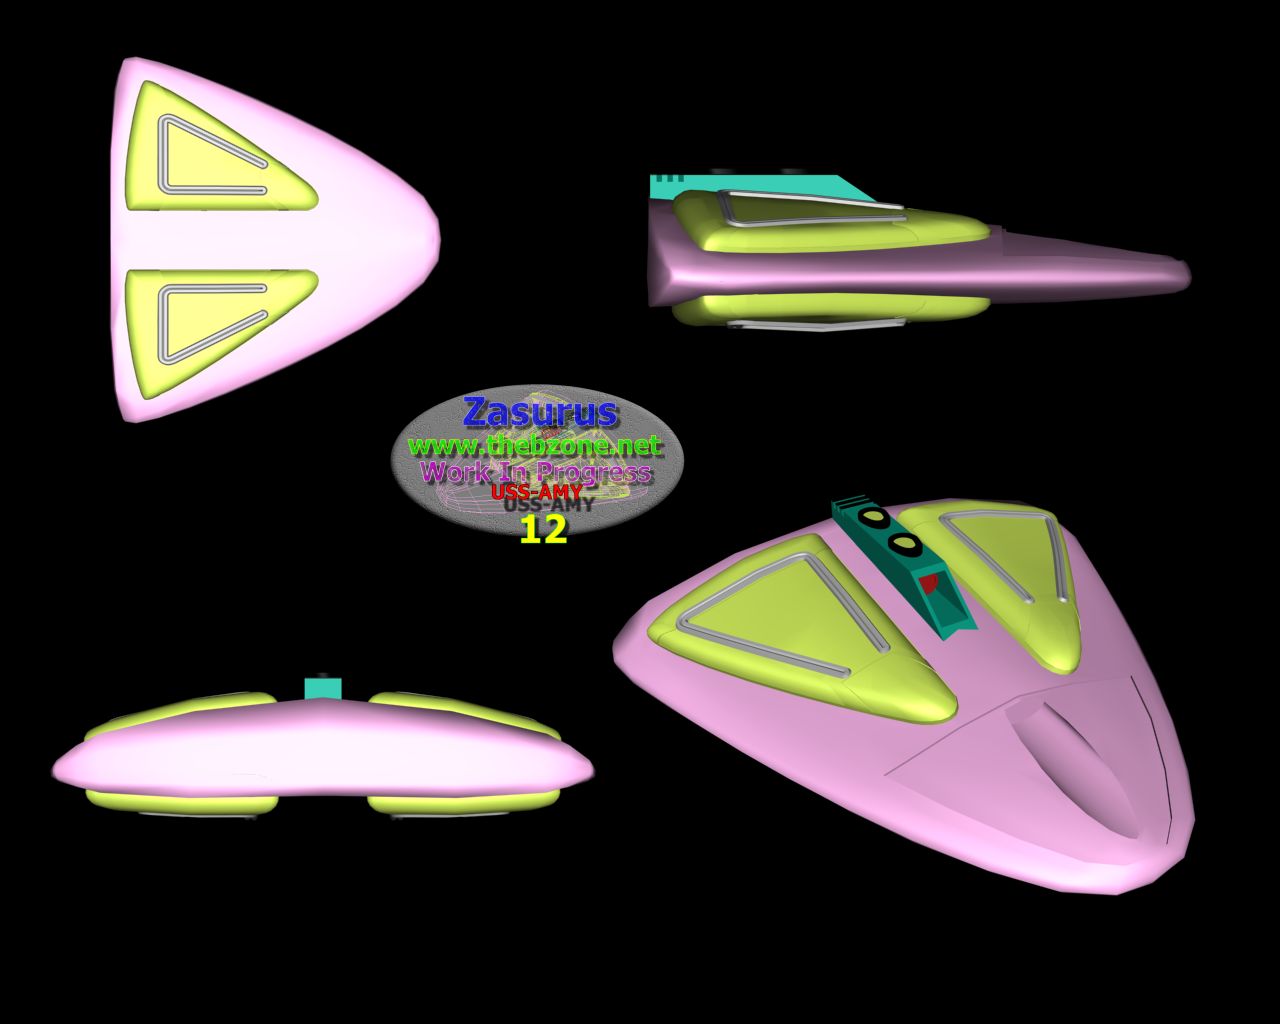
Now to put some detail onto the nacelles. To do this I was going to simply extrude the faces I wanted inwards again. This time I used a local extrude so the faces all went in perpendicular to the face and not just moved all of the faces in one direction which is what a group extrude would do. | |||
| I was not sure how I was going to put the phaser strips onto my nacelles and this was my first attempt. I didn't like it though as I thought that the strip was too small. |

|
|||
|
The second attempt was a much better. | |||
| After days of trying to figure out how to attach my nacelles to my hull so it looked strong but could still look good when it moved from its 'parked' position to the warp position I came up with this with a little help from the people at scifi-meshes' forums. THANKS! |
|
|||

|
Here is a different view of the new struts. This is looking at the bottom of the nacelle to where the struts attach to the nacelle. | |||
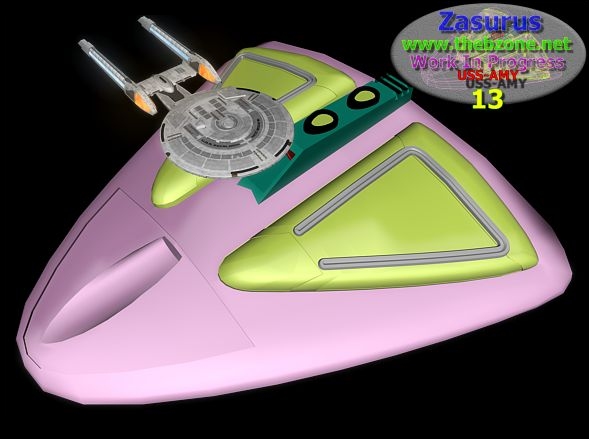
| This is the ship so far with the nacelles 'parked' in the hull (Normal impulse speeds.). |
|
|||
|
WOOPS! As I mentioned earlier the USS AMY is about the size of the Defiant but when I imported someone else's ship it was err bigger! (Looks like that episode of DS9 where a runabout gets shrunk!) | |||
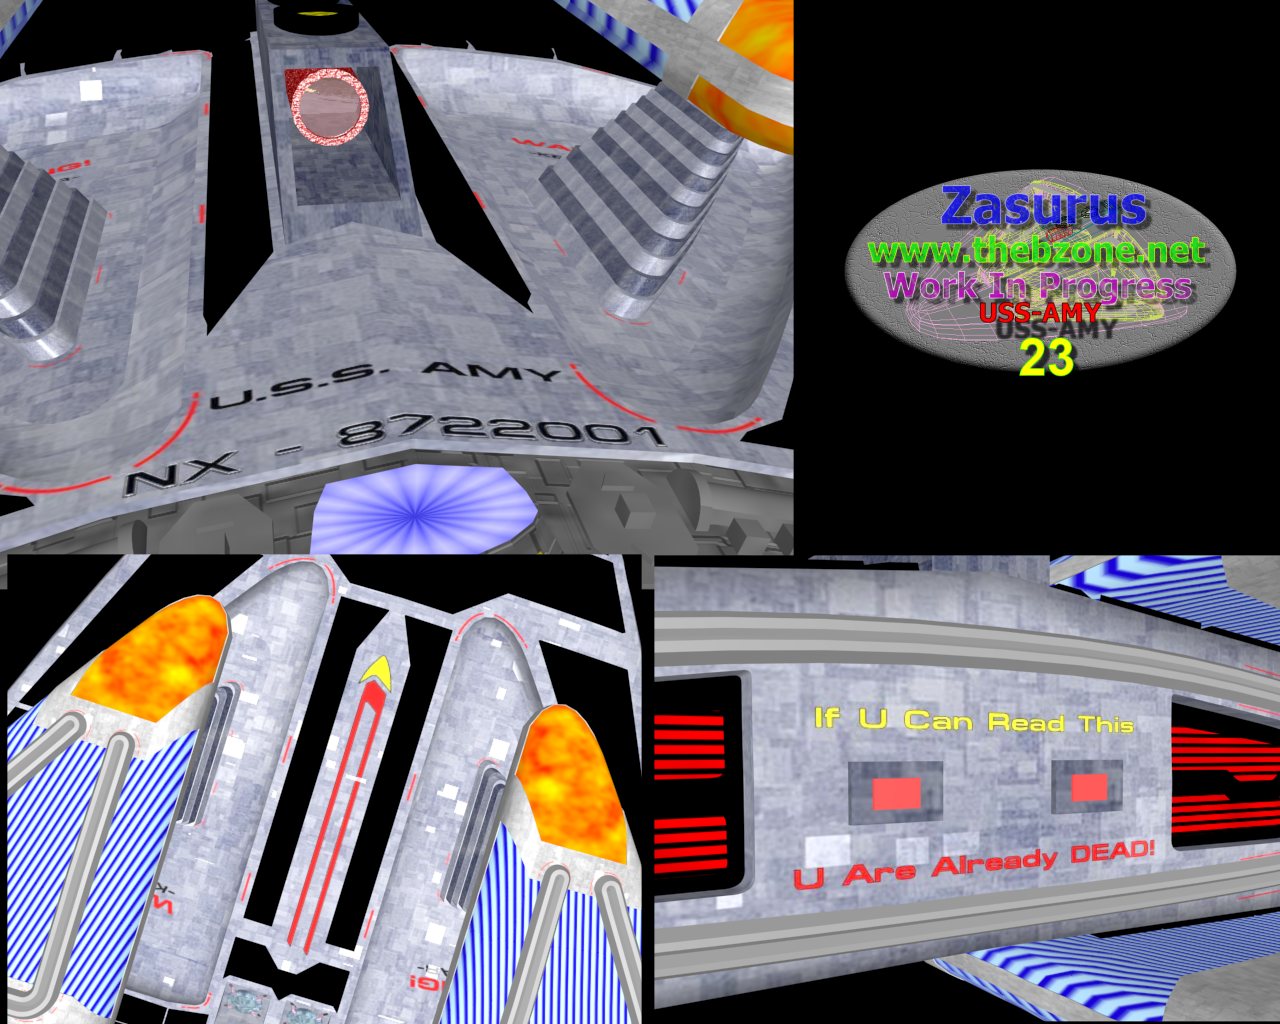
| OK! Now for a bit of colour and err did I miss the impulse engine bits… SORRY! I must have forgotten to take screen shots of that part… What I did for the impulse engines was to created a rectangular spline and project it onto the ship with a shape-merge. I then Extruded the faces inwards to make a nice hole. I used a multi/sub-object texture to create lots of different textures/colours on one object. |

|
|||
|
Yes! That is TWO warp cores… POWER! They are both are fully eject able. | |||
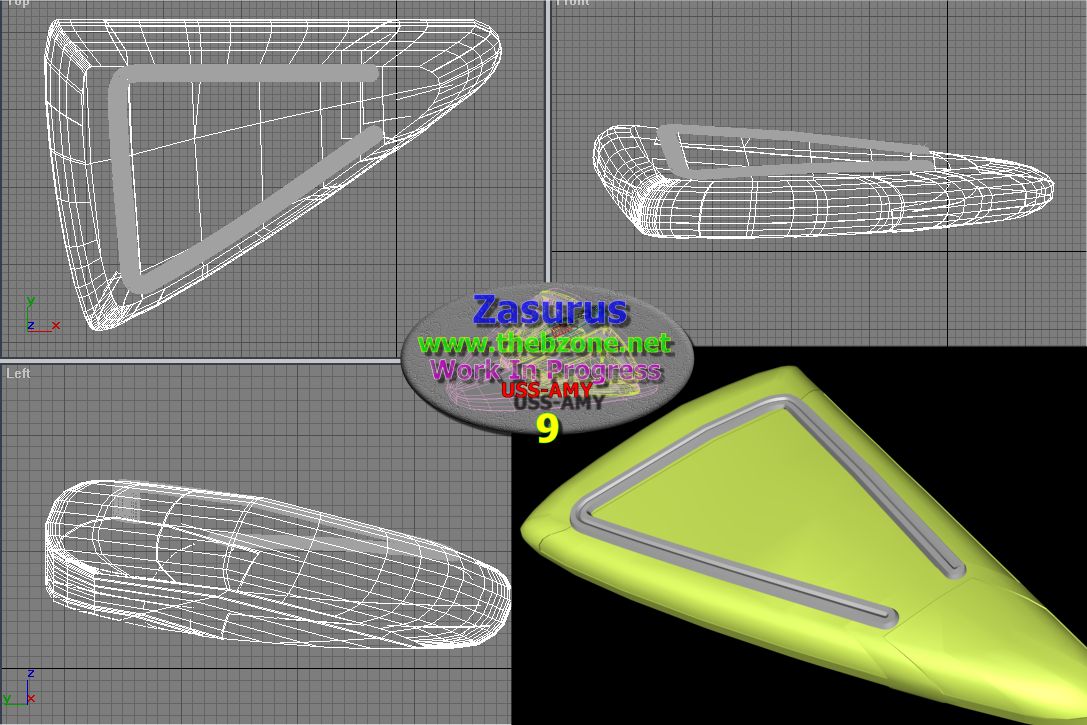
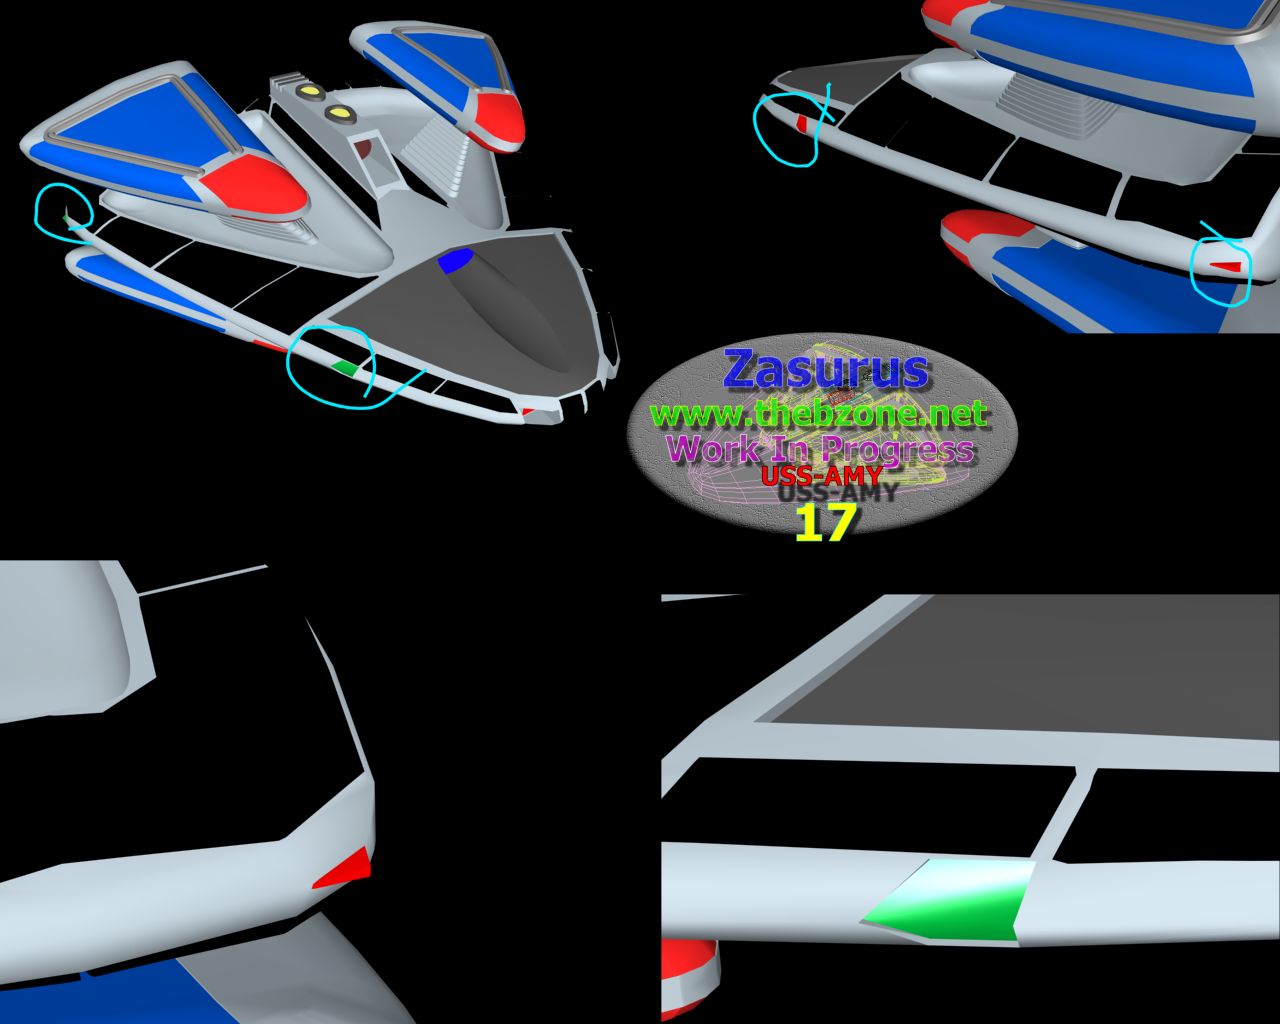
| Now for some armour photon torpedo launchers and some rear phaser strips as we had a blind spot… I made the armour by shape-merging lots of splines into the hull and then extruding the faces again. |

|
|||
|
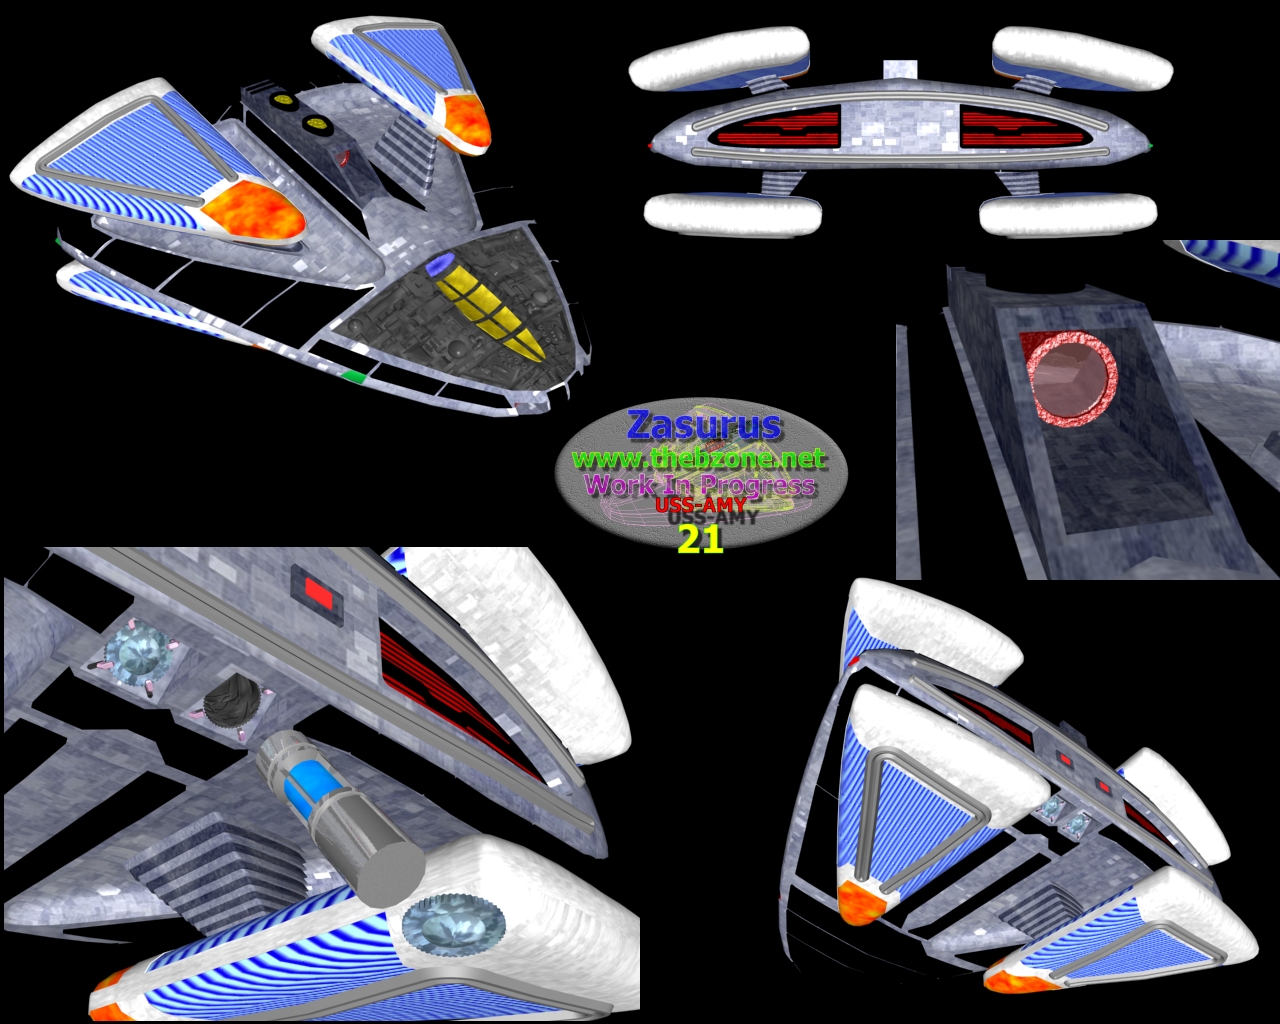
Port and starboard lights… | |||
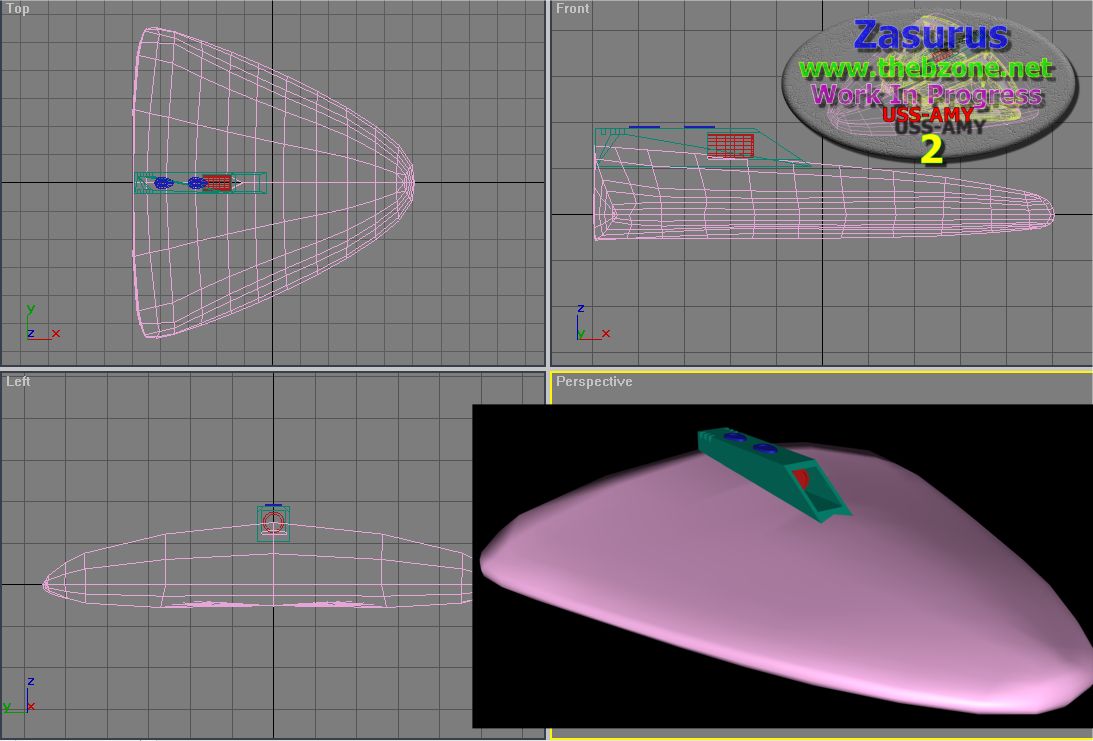
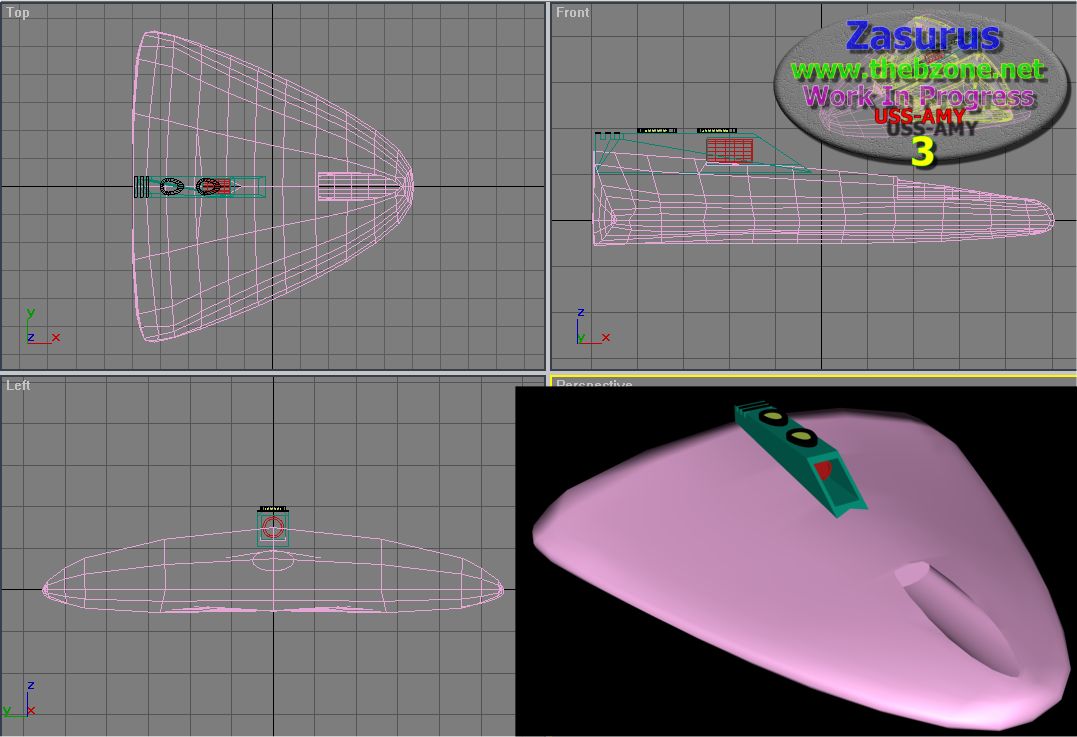
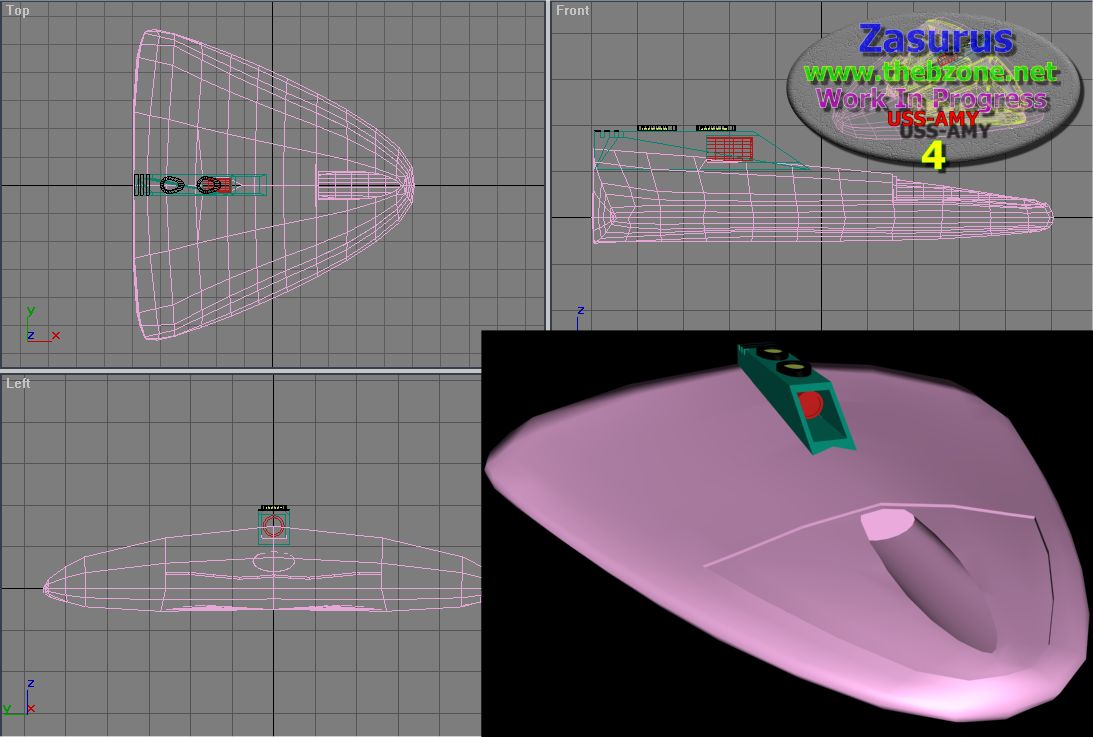
| Hum this one took some time… It is half of the sensor array for the top front of the hull. I used the one on Voyager for inspiration. I tried shape-merging to create this but ended up doubling the polygon count!!! After asking for advice on Scifi-Meshes forums I was told to use primitives. And here is the result… |
|
|||

|
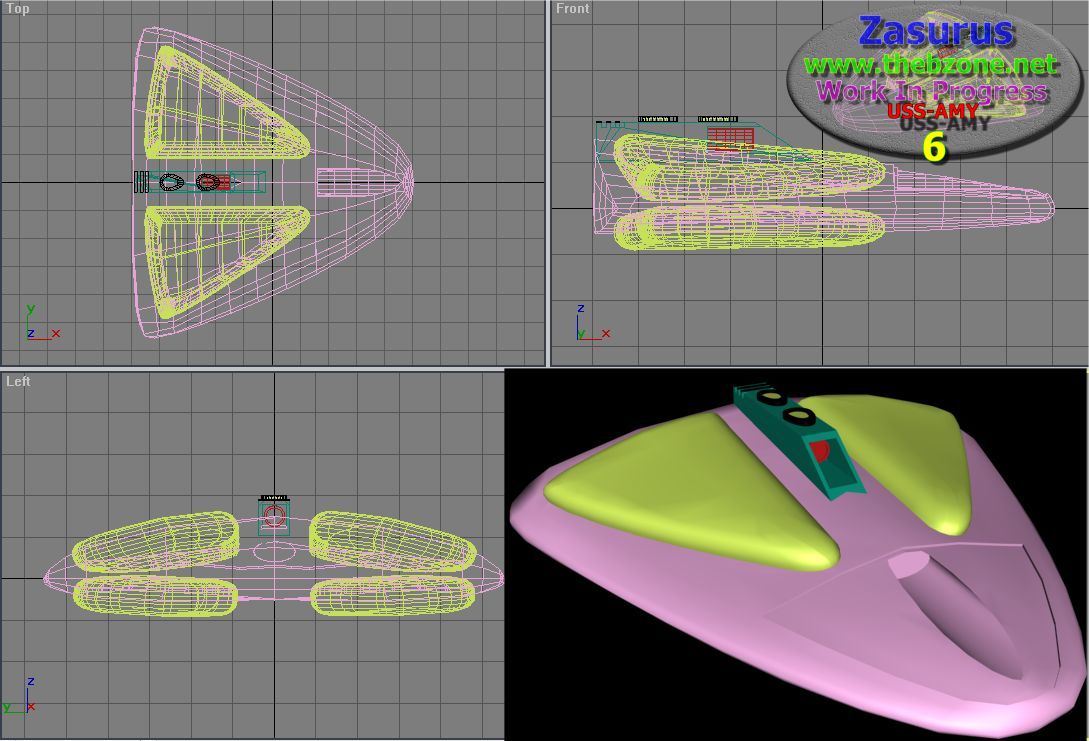
Here is the ship so far. I have also added those yellow things on the deflector. I have NO idea what they do but hell they look good… | |||
| Some test textures… Still got a lot of trouble with the back but I am learning how to texture as this is the first real model I have created. |

|
|||
|
Texturing almost complete! YES I know I forgot to take screen shots AGAIN! SORRY! Anyway I have still go the red lines around all of the phaser strips etc to do. | |||
| RED LINES!!! I used textporter to do these and I am very pleased with the results. |

|
|||
|
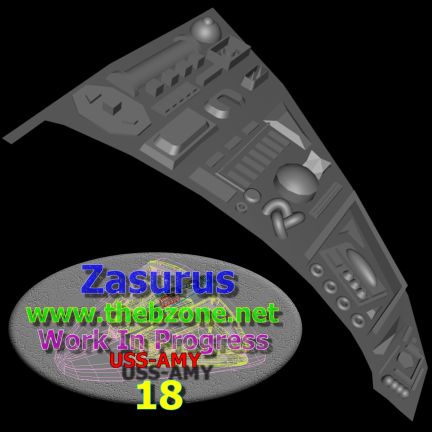
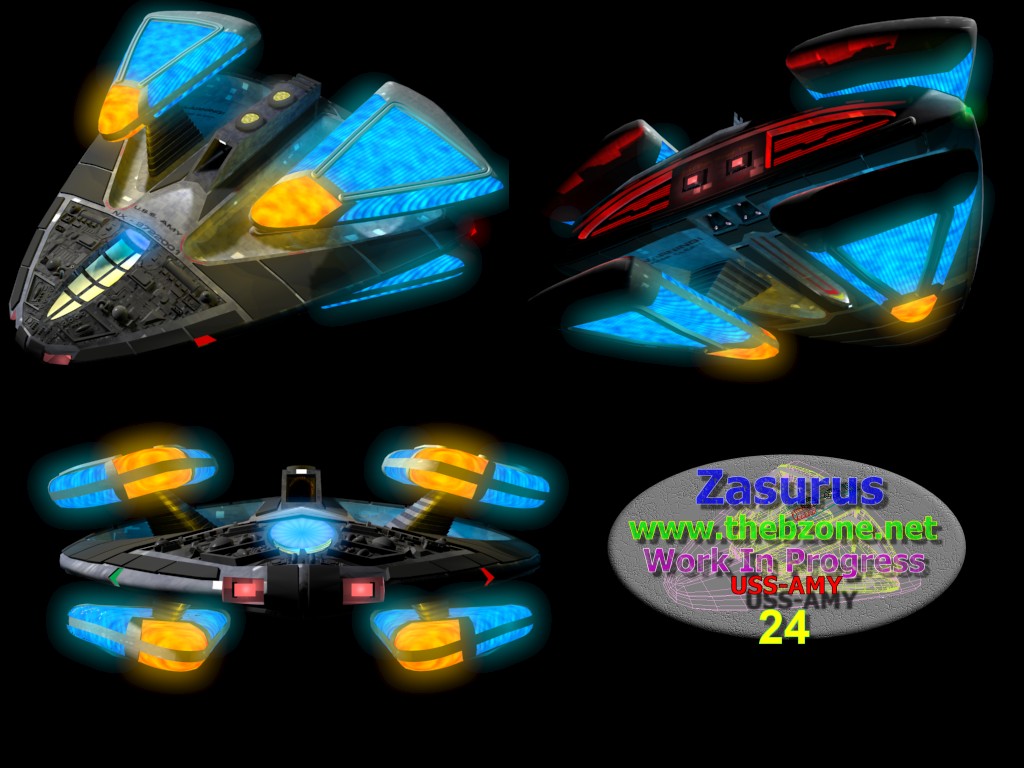
More detail. I am now pleased with all of the textures and think it is now lighting time… 
|
|||
| Now do you see why she needed two warp cores? Come on all together… OWWW. |
|
|||
|
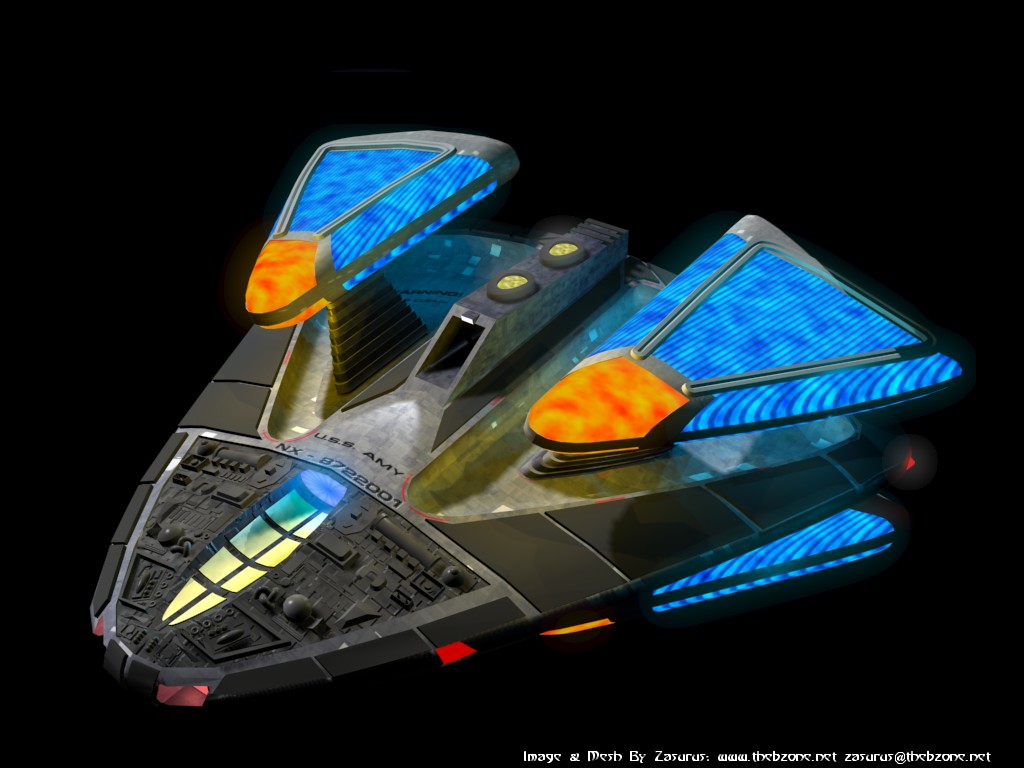
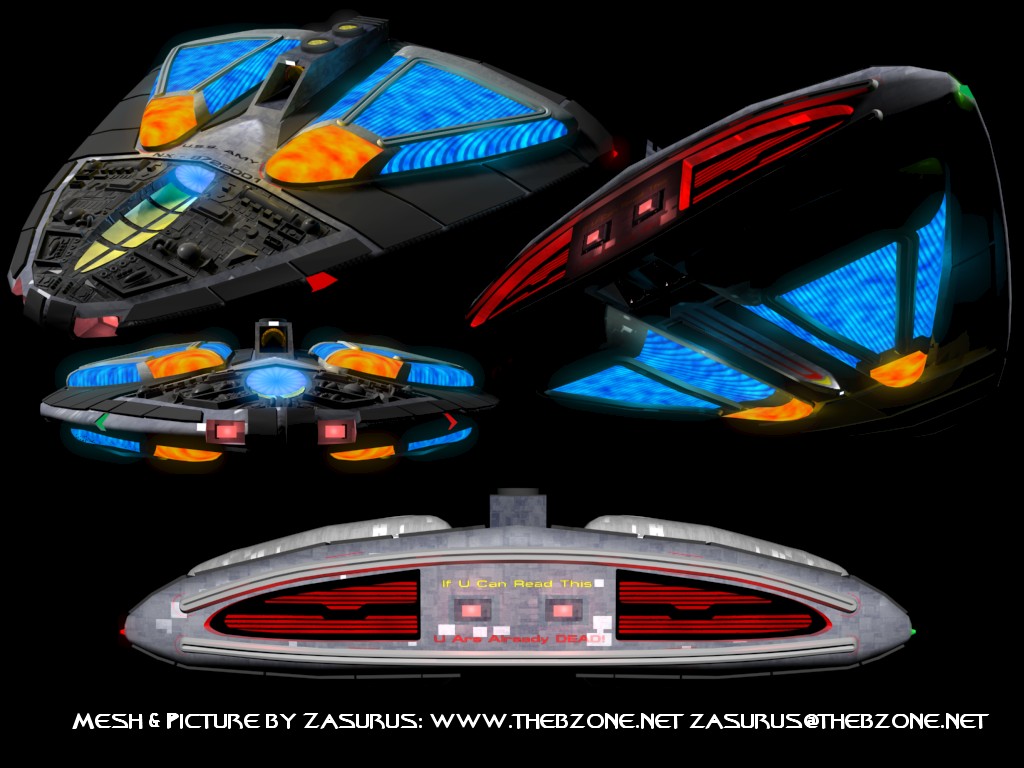
DONE!!! What do you think? | |||
| Here is another view. This time with the nacelles down. |
|
|||
Last update: Year: 2006 Month: 07 Day: 02 Time:22:03 (UK Time)
All material copyrighted © by Zasurus www.thebzone.net unless otherwise specified.